Once you’ve created a grid it can be added anywhere you want on your website using a block or the shortcode.
Adding a grid using the Gutenberg Block Editor
When editing a post or page in the Block Editor you can click on the + icon to add one of grid blocks:

In most cases you’ll just want the full grid with all of its filters, so pick the “Grid with Filters” block in that case. Next, you’ll want to click on the blue “Insert Existing Grid” button.

This will get you a dropdown where you can pick a grid to insert from all of the grids you’ve created. Just click the blue “Insert” button to confirm.

After confirming you’ll see a live preview of the grid. Take note that this is not exactly as it will look on your actual website.
The same method can be used to add a separate grid or filter block.
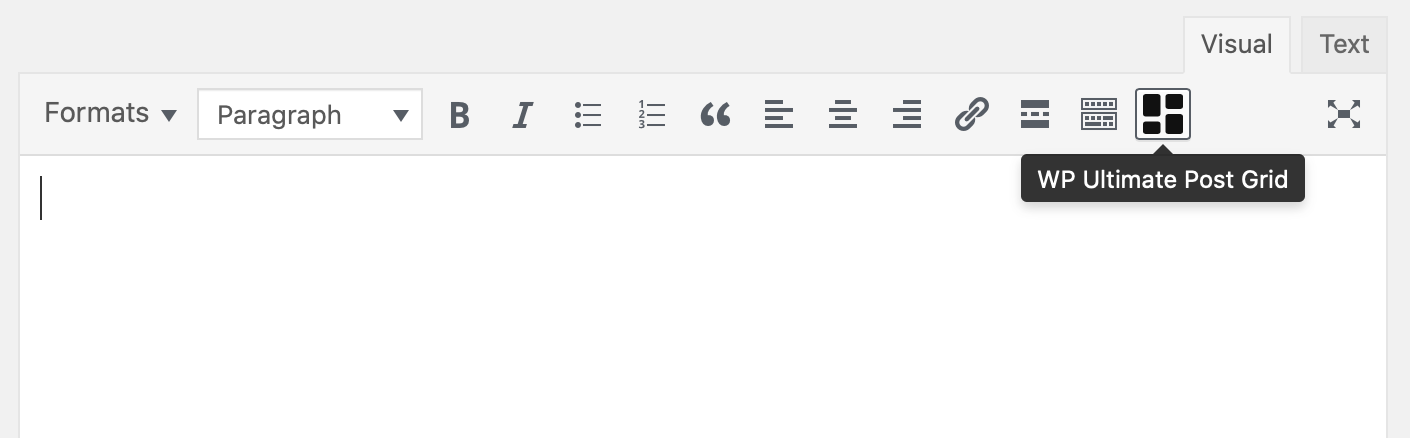
Adding a grid using the Classic Editor
In the Classic Editor you’ll find a grid icon in the Visual Editor.
After clicking you’ll be able to select what you want to insert.

What you’ve inserted is essentially just a shortcode that will output the grid on your actual website.

That same shortcode can also be copied from the Grids > Manage page.
Adding a grid in your theme files
Another, more technical, option is to add a grid into the code of your theme files. For this, you can use the shortcode you find on the Grids > Manage page. A shortcode can be added in PHP code like this:
<?php echo do_shortcode( '[wpupg-grid-with-filters id="text-search-filter"]' ); ?>