The Template Editor can be used to edit the look of the items in the grid. Go to the Grids > Template Editor page to start editing!
Template Overview
The first screen you’ll see in the Template Editor is an overview of all the available templates:

Preview a Template
When you click on a template you’ll be able to see a preview of what it looks like. Here you’ll want to make sure to select an item in the dropdown to use for that preview. If you usually have a grid of regular posts, it would make sense to pick a typical post here, for example.

Editing a Template
When you’re first starting out you want to pick a template that’s closest to what you’re trying to achieve. For this example we like the overlay template, so we’ll go with that and click on the blue “Clone & Edit Template” button to make it our own.
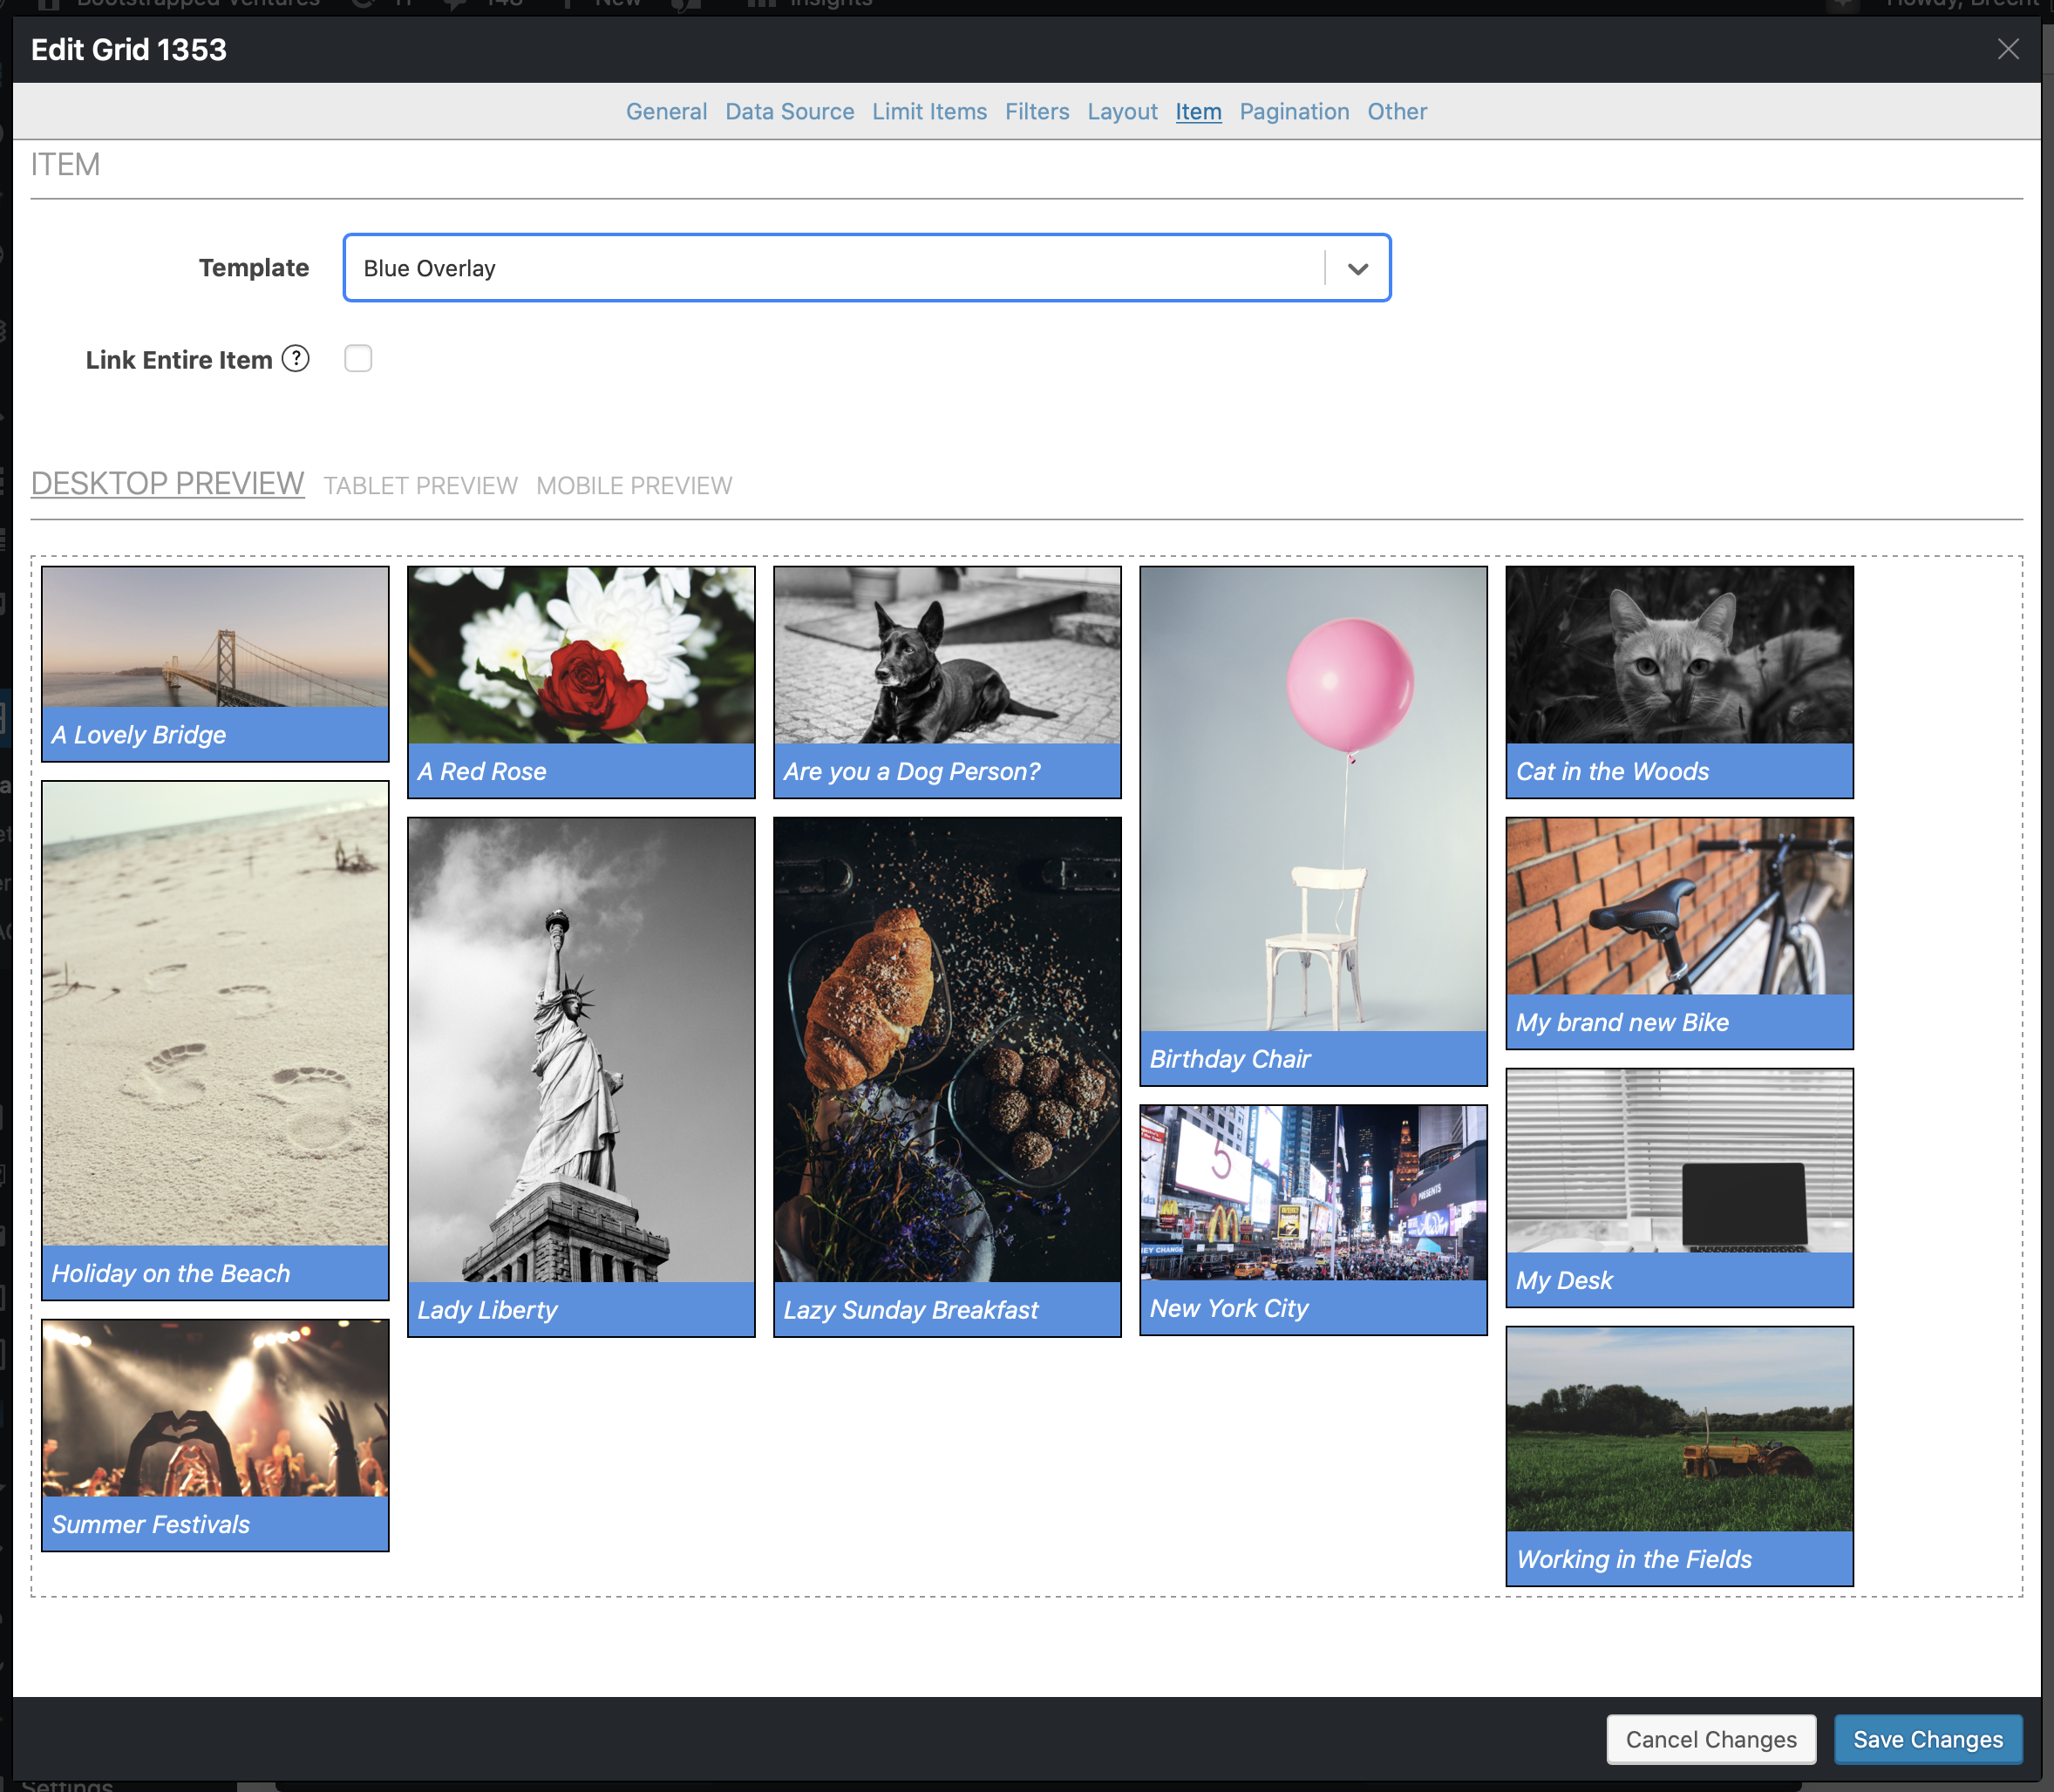
You’ll have to give it a name, so we’ll pick “Blue Overlay” here.

Editing Template Properties
Now we’re actually editing a template and the first screen you’ll see is “Template Properties”. Here we can make changes like adjusting the overlay color:

Adding & Editing Blocks
An item template consists of different blocks. Go to “Add Blocks” to find the different blocks you can add to the template. Or use “Edit Blocks” to edit any blocks that are already part of your template.
Here, we can change the title block to not be bold but rather italic, for example:

Edit HTML & CSS directly
For more control, go to the “Edit HTML” and “Edit CSS” screens where you can directly edit the HTML and CSS for this template.
“Edit HTML” can be particularly useful (and not as scary as it sounds) as you’ll be able to change the location of the separate blocks there by copying and pasting the shortcodes.
Using your new template
Once you’re done editing, make sure to click on the blue “Save Changes” button. It will then be available in the list of templates to choose from.
When editing a grid you can select the template to use for that grid on the “Item” tab.
