
Template Editor
How to open the Template Editor
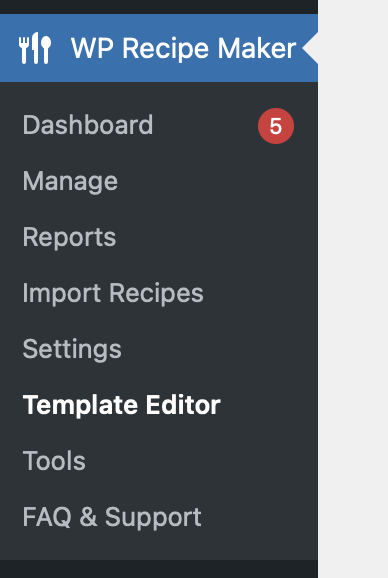
Section titled “How to open the Template Editor”The Template Editor can be found in the menu, by going to WP Recipe Maker > Template Editor.
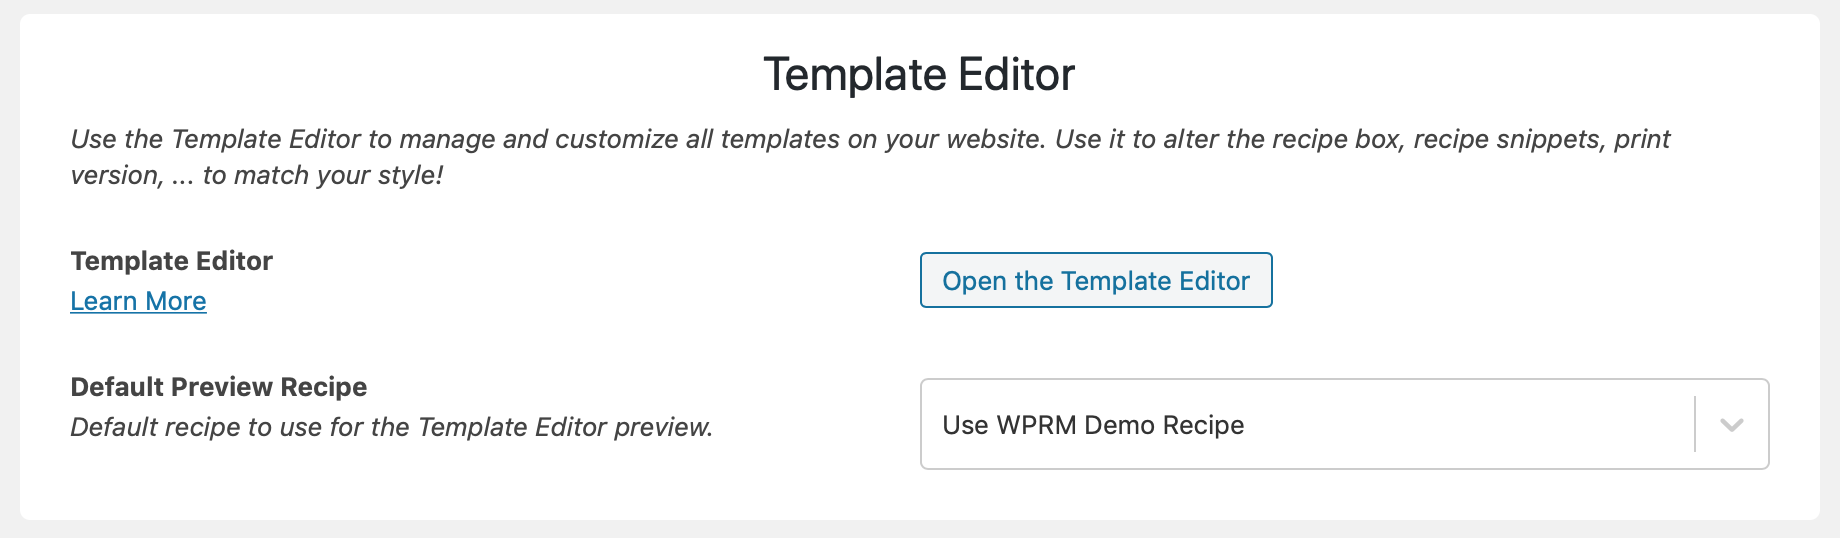
Setting a Default Preview Recipe
Section titled “Setting a Default Preview Recipe”We highly recommend to set the “Default Preview Recipe”. This is the recipe used to preview in the template editor. You want this to be a recipe that has all the fields set that you use on your website. If your preview recipe doesn’t have a recipe video set, the recipe video section won’t get displayed in the preview either, for example.
Setting a default recipe for the template editor preview can be done on the WP Recipe Maker > Settings > Template Editor page.
Don’t have a recipe yet? Create one first!
Template Overview
Section titled “Template Overview”On the first screen you see after opening the Template Editor you will get an overview of the different templates available on your site. Start by picking the type of template you want to edit:
-
Recipe Templates
— These are the main templates, what gets used for the full recipe card
-
Snippet Templates
— The
recipe snippets
feature has its own templates, this is what you see at the top of the post content, usually with a “Jump to Recipe” button
-
Roundup Templates
— Related to the
roundup items
, used for previewing a recipe in roundup posts linking to multiple recipes (“My 10 favorite Thanksgiving recipes!”)
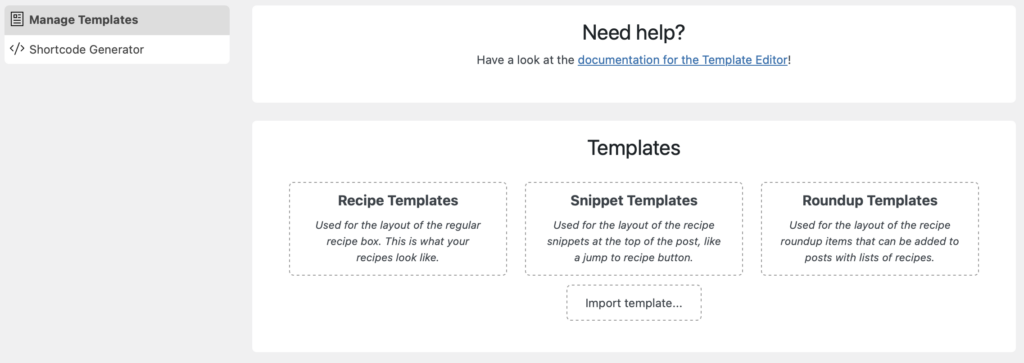
You will also notice a “Shortcode Generator” tab in the menu. This can be useful if you want to work with the recipe shortcodes directly.
Let’s say we want to edit a recipe template. Once we click on the “Recipe Templates” box you will get a list of the different recipe templates that are on your site.
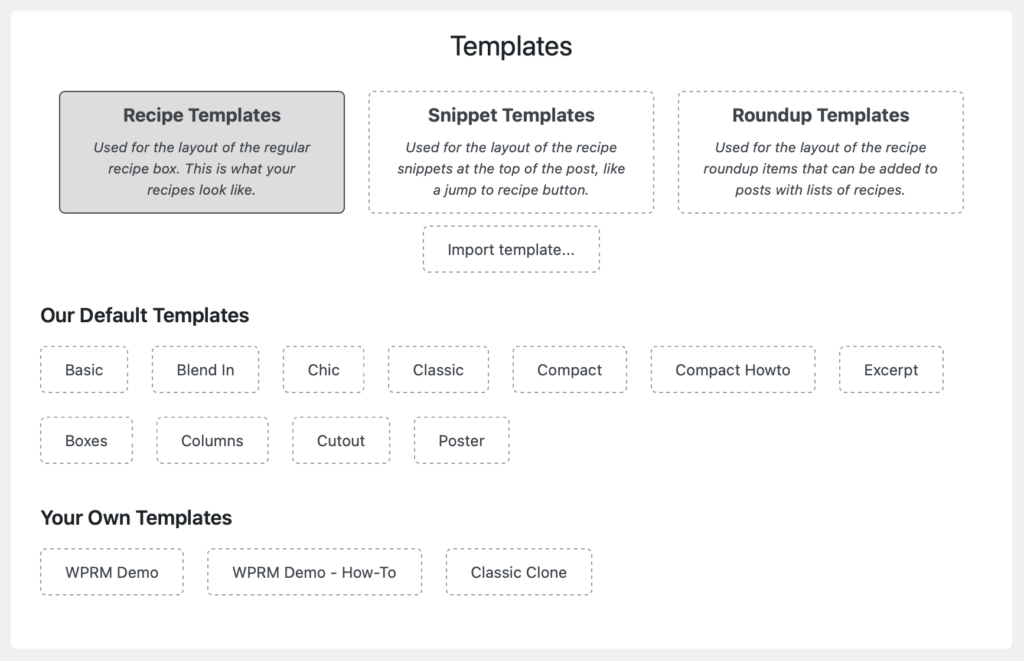
You can click on the templates in this overview to show the available actions.
Cloning a template
Section titled “Cloning a template”It’s not possible to edit the default templates (we want you to be able to go back to a default whenever you want), so the next step would be to create you’re template. You do not have to start from scratch though.
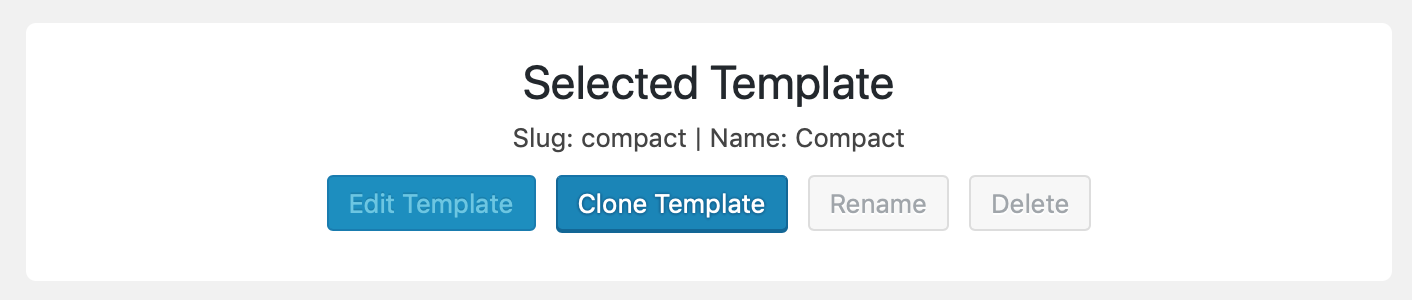
Click on the template you like best and then on the blue “Clone Template” button. You can now pick a name for your own template.
Find an example of all the templates you can use as a starting point on our demo site.
Managing your own templates
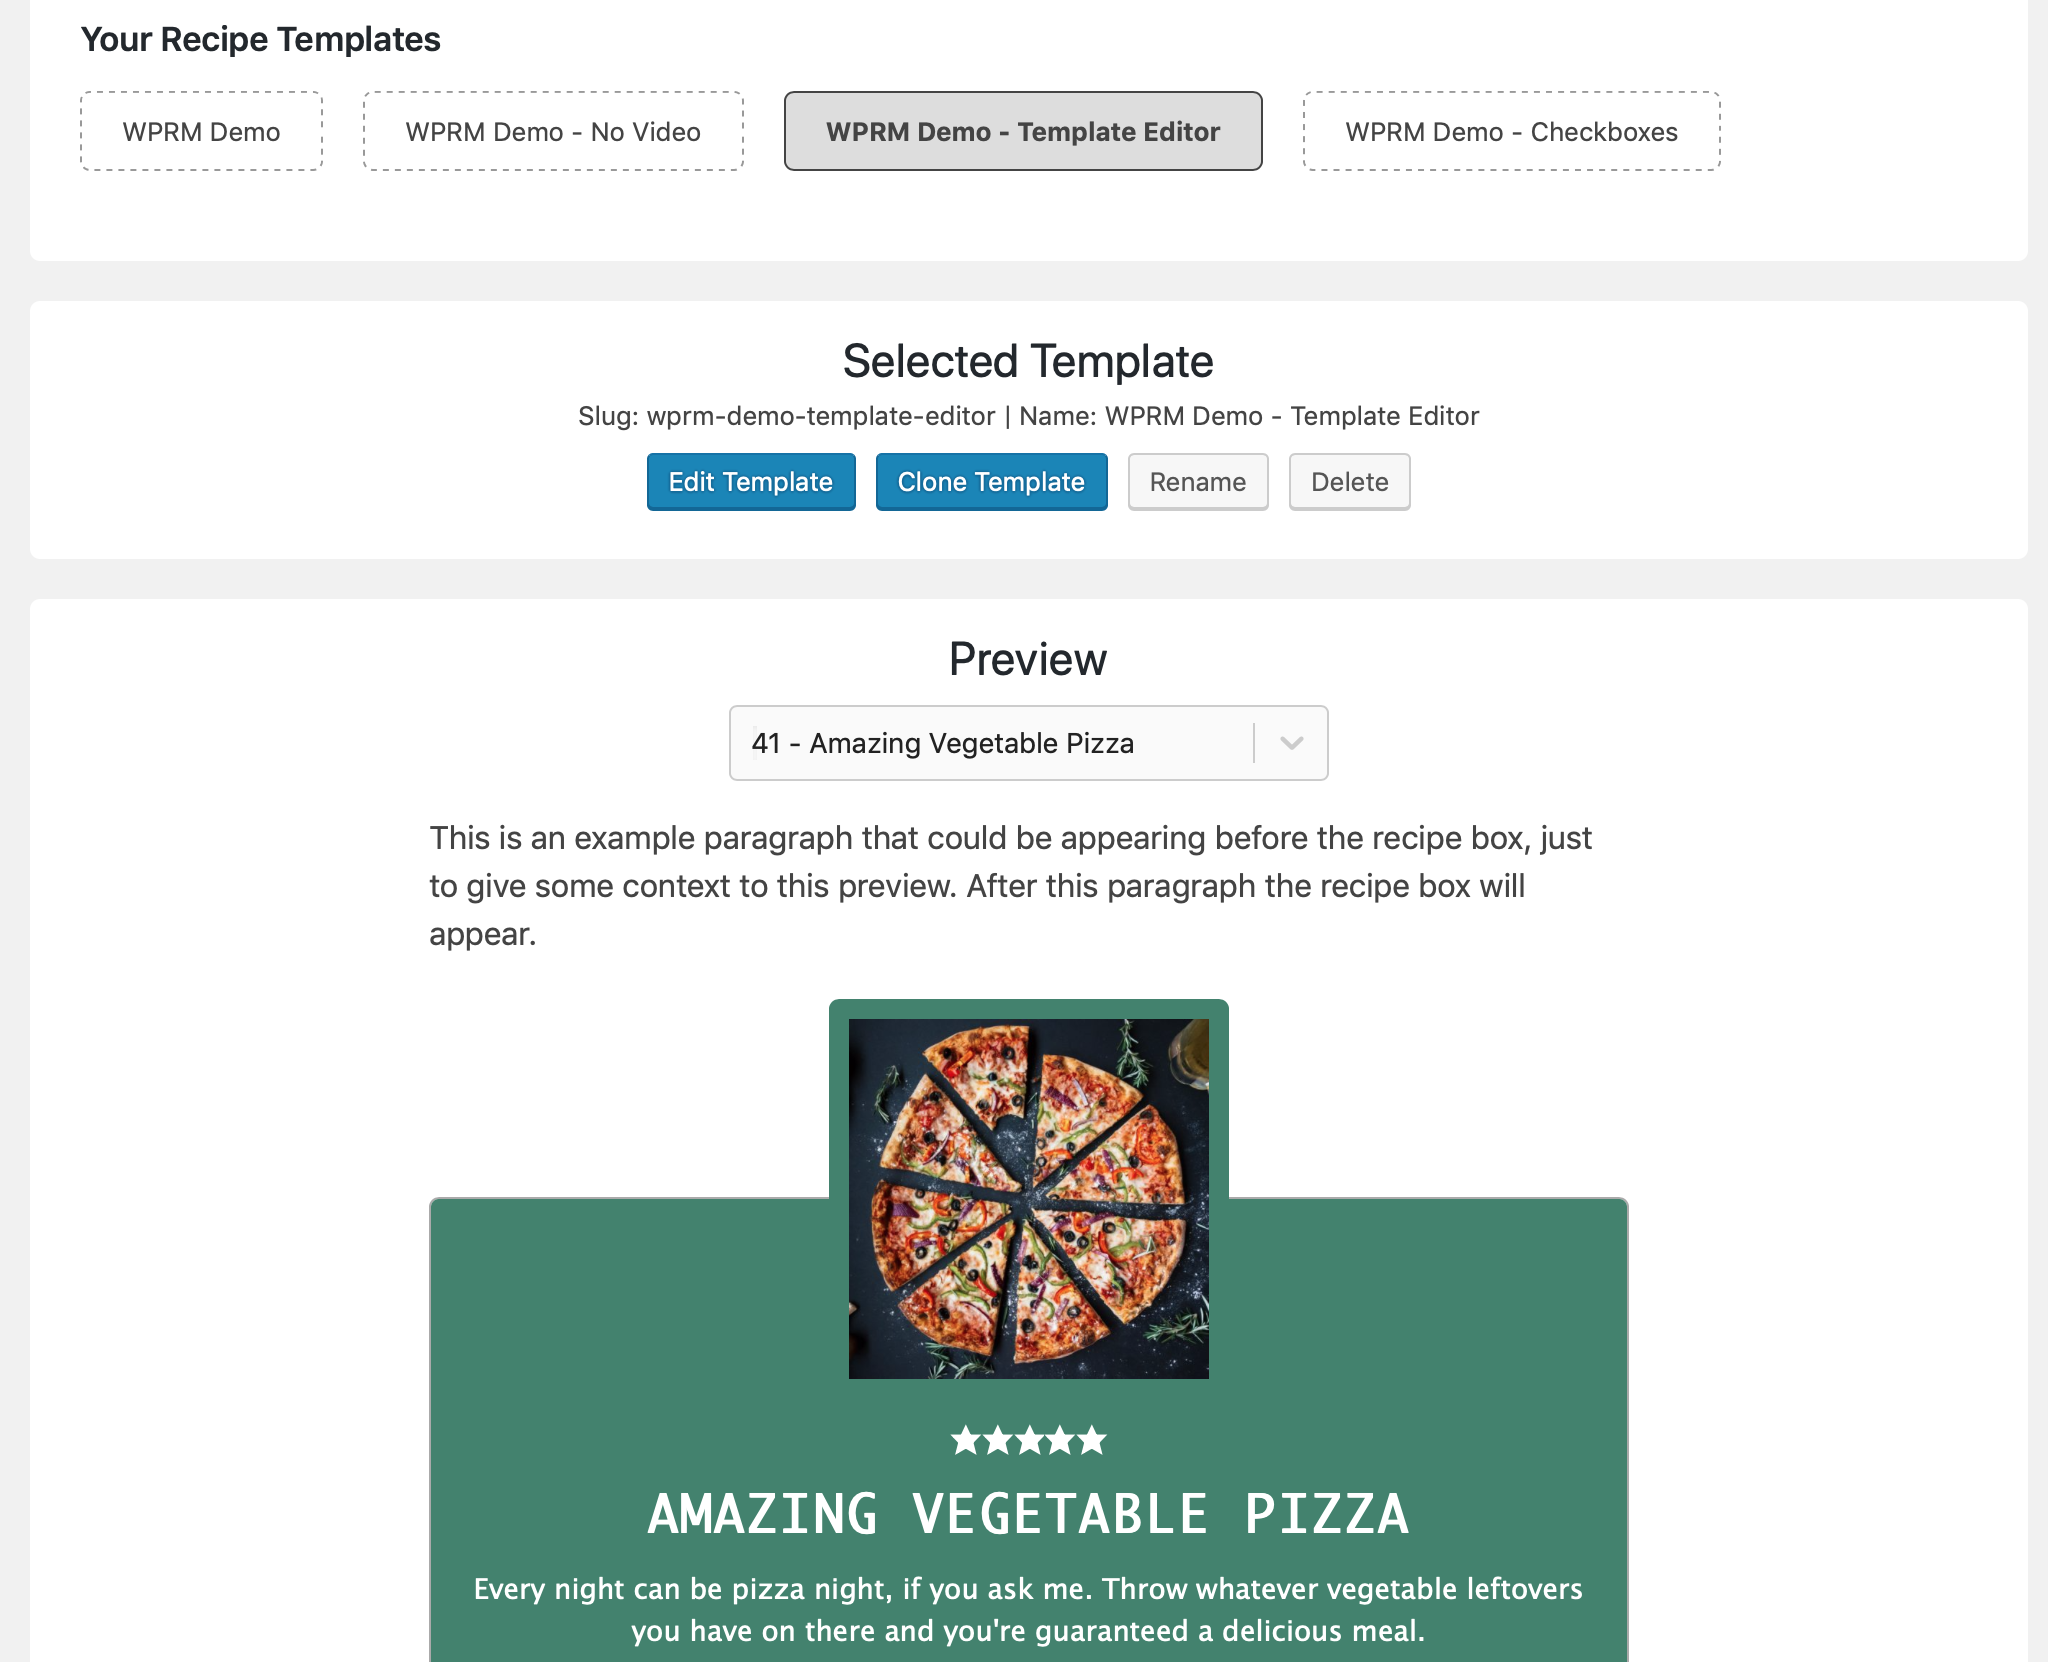
Section titled “Managing your own templates”After cloning, click on your own template to see more actions available. You can rename, delete and start editing now.
Start editing a template
Section titled “Start editing a template”You can get to the actual editor by clicking the blue “Edit Template” button. This button will only be active for one of your own templates, so make sure to make a clone first as shown above.
Editor Overview
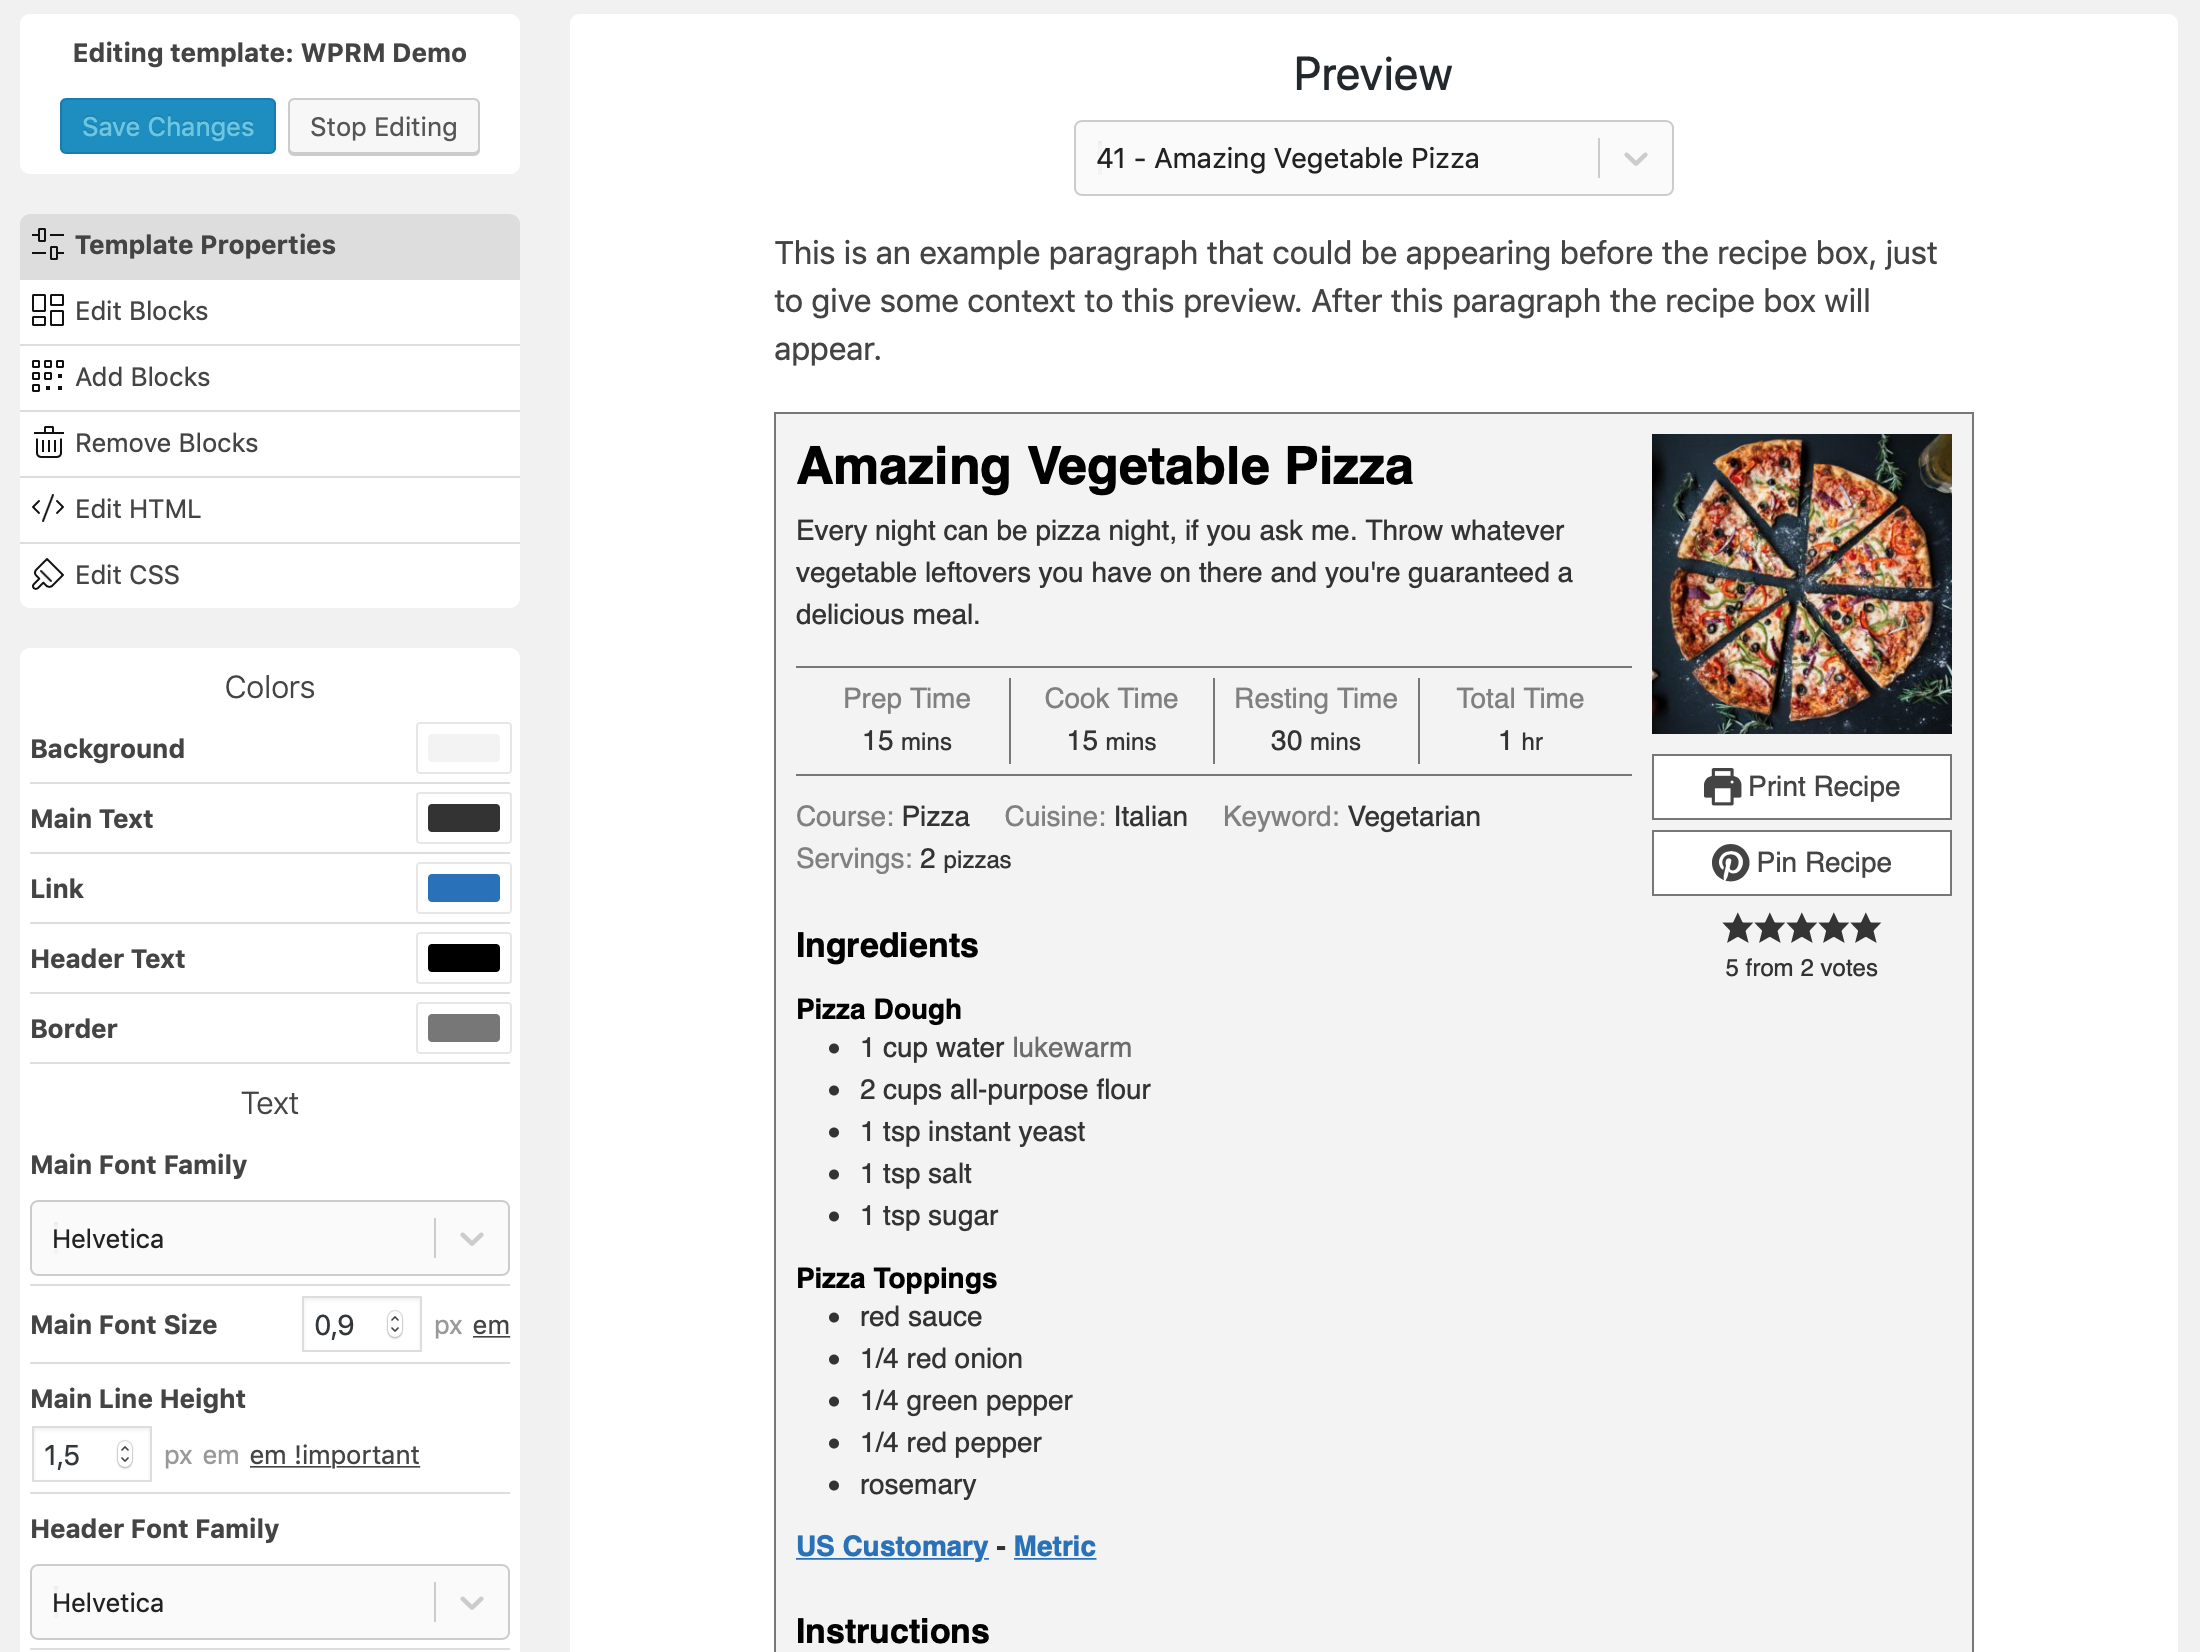
Section titled “Editor Overview”Once you’re in the actual editor you will see something like this:
There are 4 main components here:
- “Editing template” in the top left shows you the name of the template you’re editing and allows you to save or cancel any changes you’ve made.
- Below that you’ll find the different editor modes. Right now it’s in “Template Properties” mode. We’ll cover these different modes below.
- Depending on the mode you’re in you’ll see some properties you can edit in the bottom left.
- The main part of the screen is taken op by the preview component, giving you a live preview of your recipe template using the preview recipe you’ve selected.
Editor Mode – Template Properties
Section titled “Editor Mode – Template Properties”In this mode you’ll be editing properties that apply to the template as a whole. Think background colors, borders, font families, font sizes, text colors, and so on.
In this mode you’re basically editing variables used in the Template CSS.
Editor Mode – Edit Blocks
Section titled “Editor Mode – Edit Blocks”This is where most changes can be made. At first you start out with a list of all the blocks that are in the template. Hovering over them will highlight the block inside the recipe template as well. Click on a block to start editing its properties.
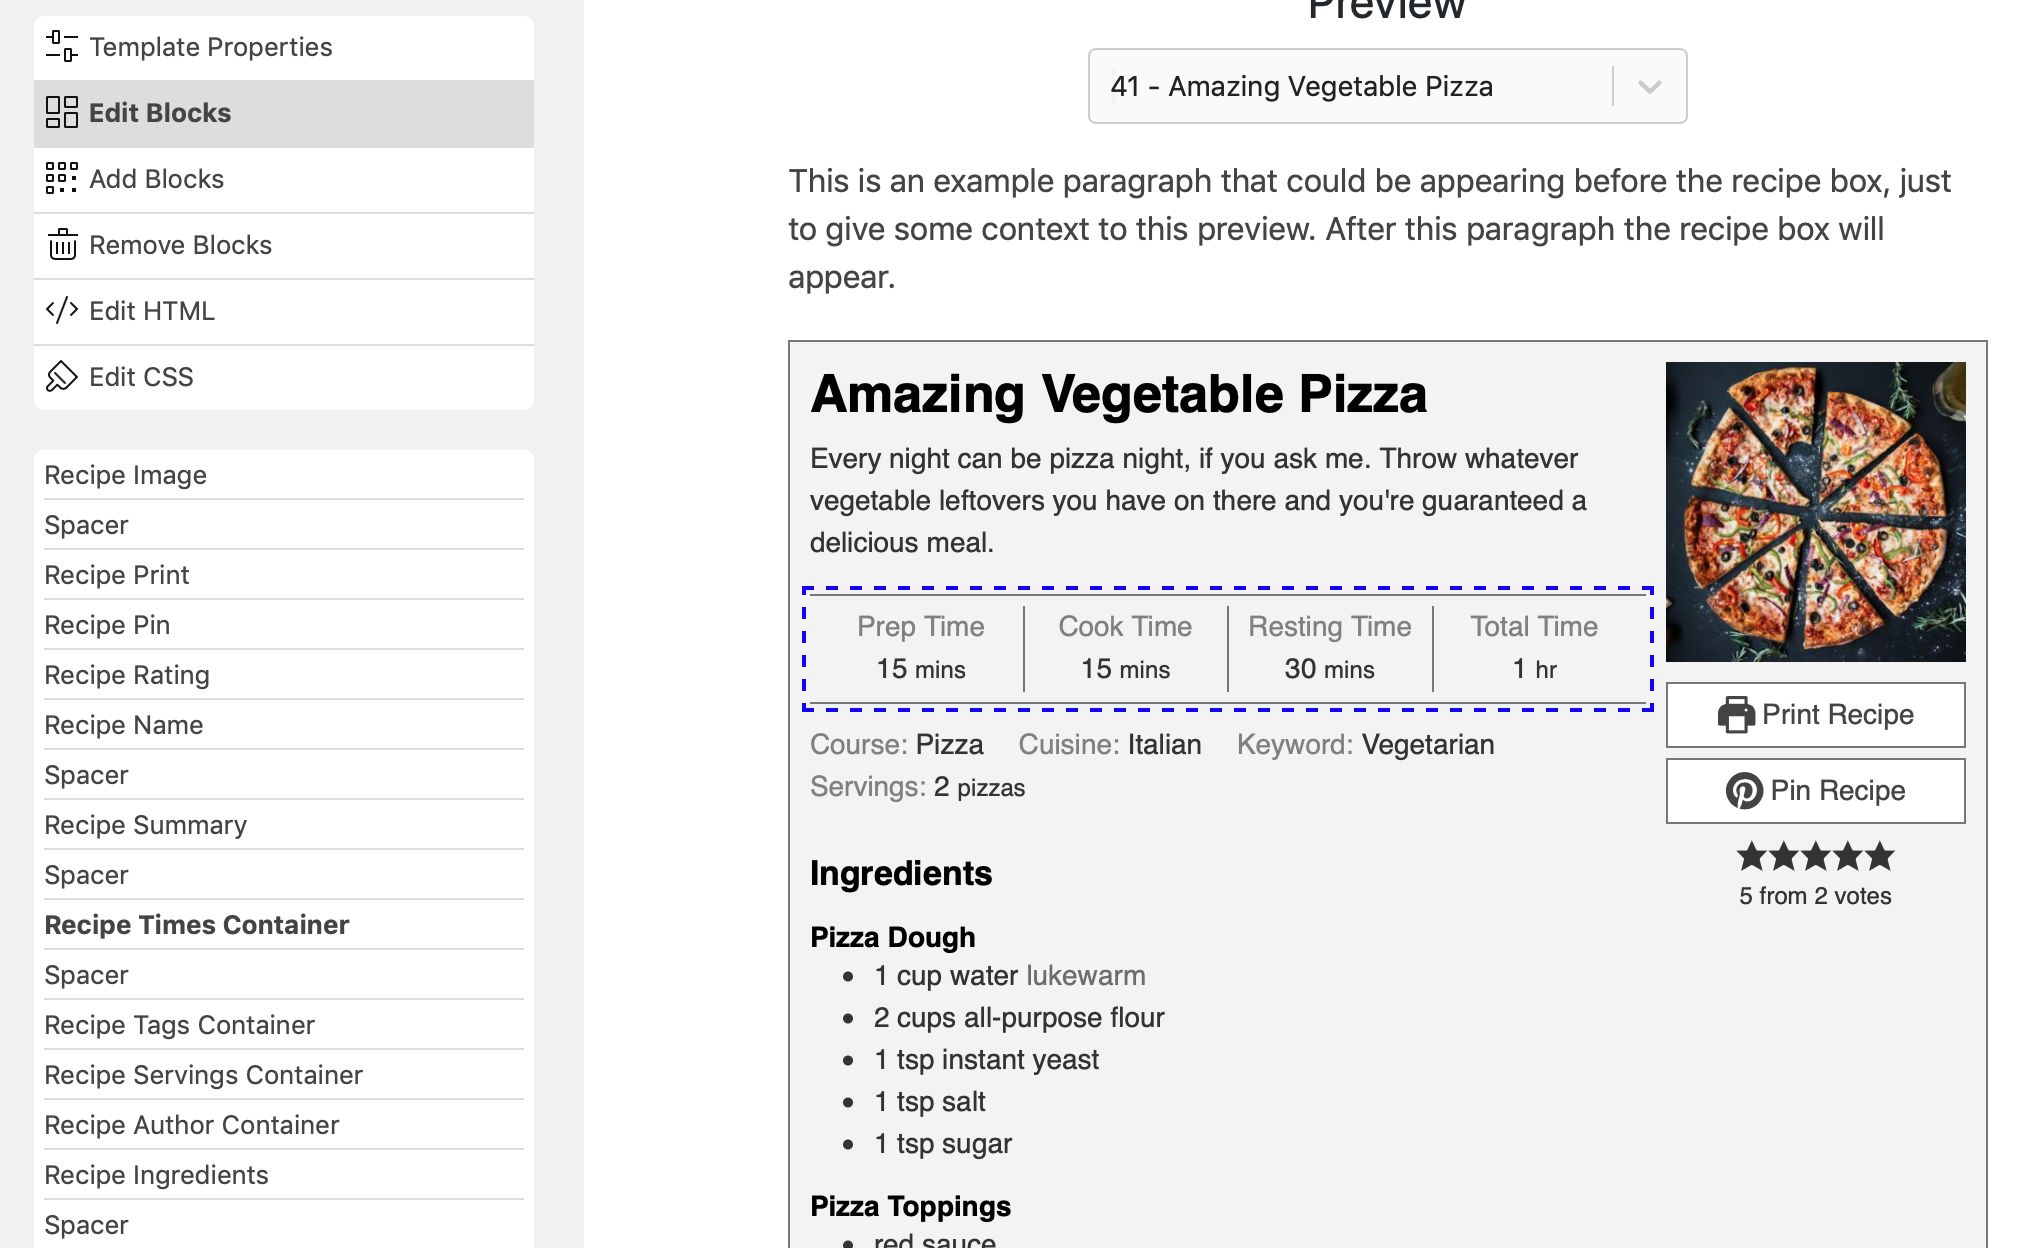
After clicking through you’ll see all properties you can edit for that particular block. Some blocks have more options than others. This would be the Recipe Name block, for example:
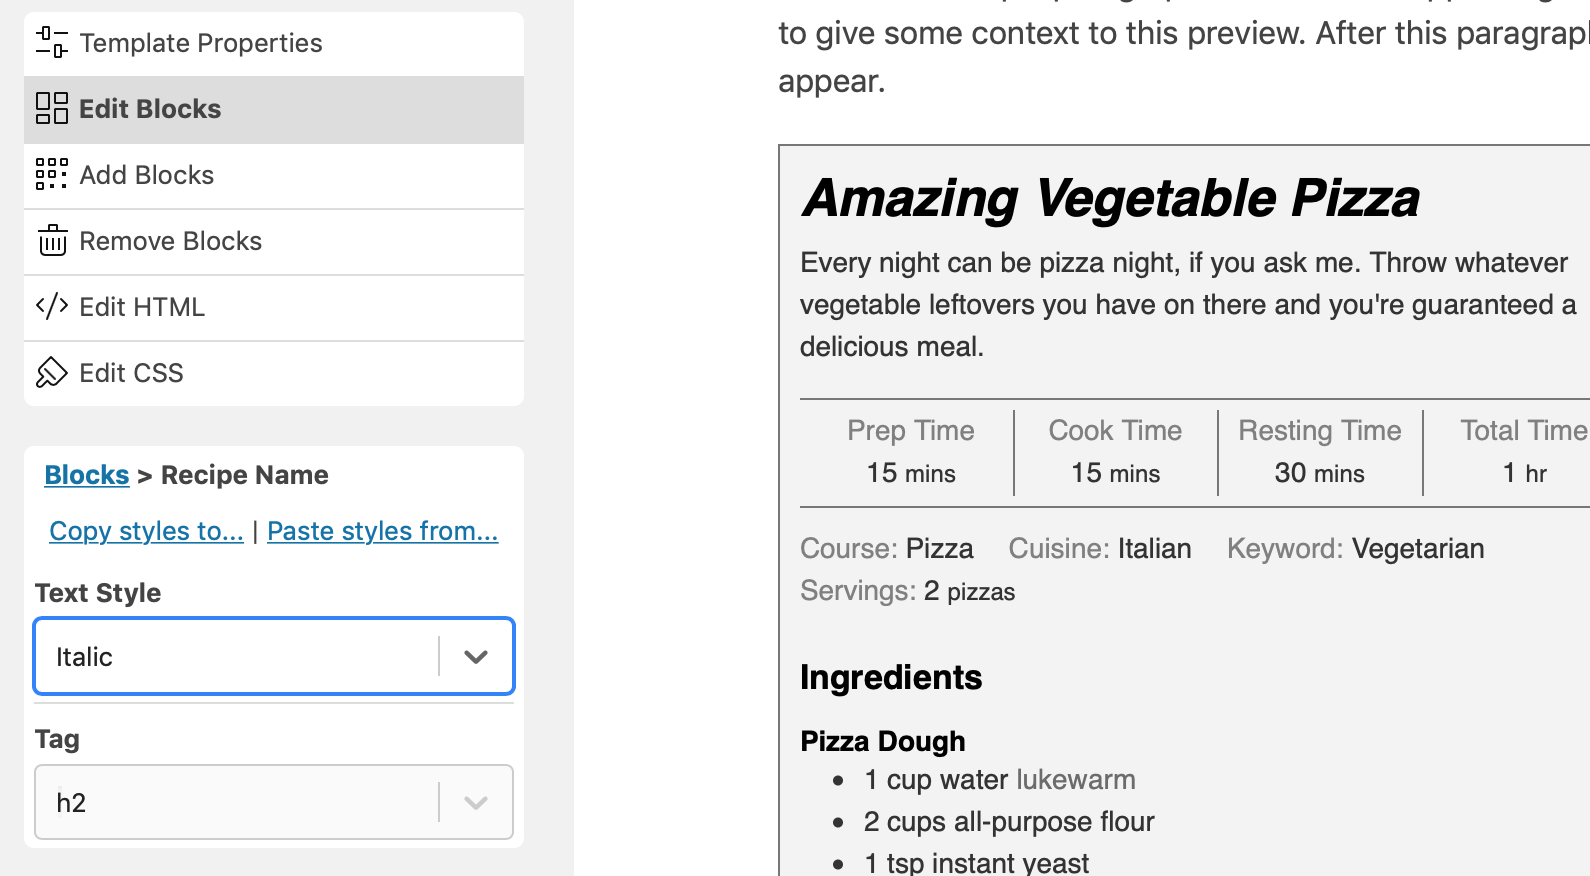
In this mode you’re basically editing shortcode attributes for the different blocks.
Editor Mode – Add Blocks
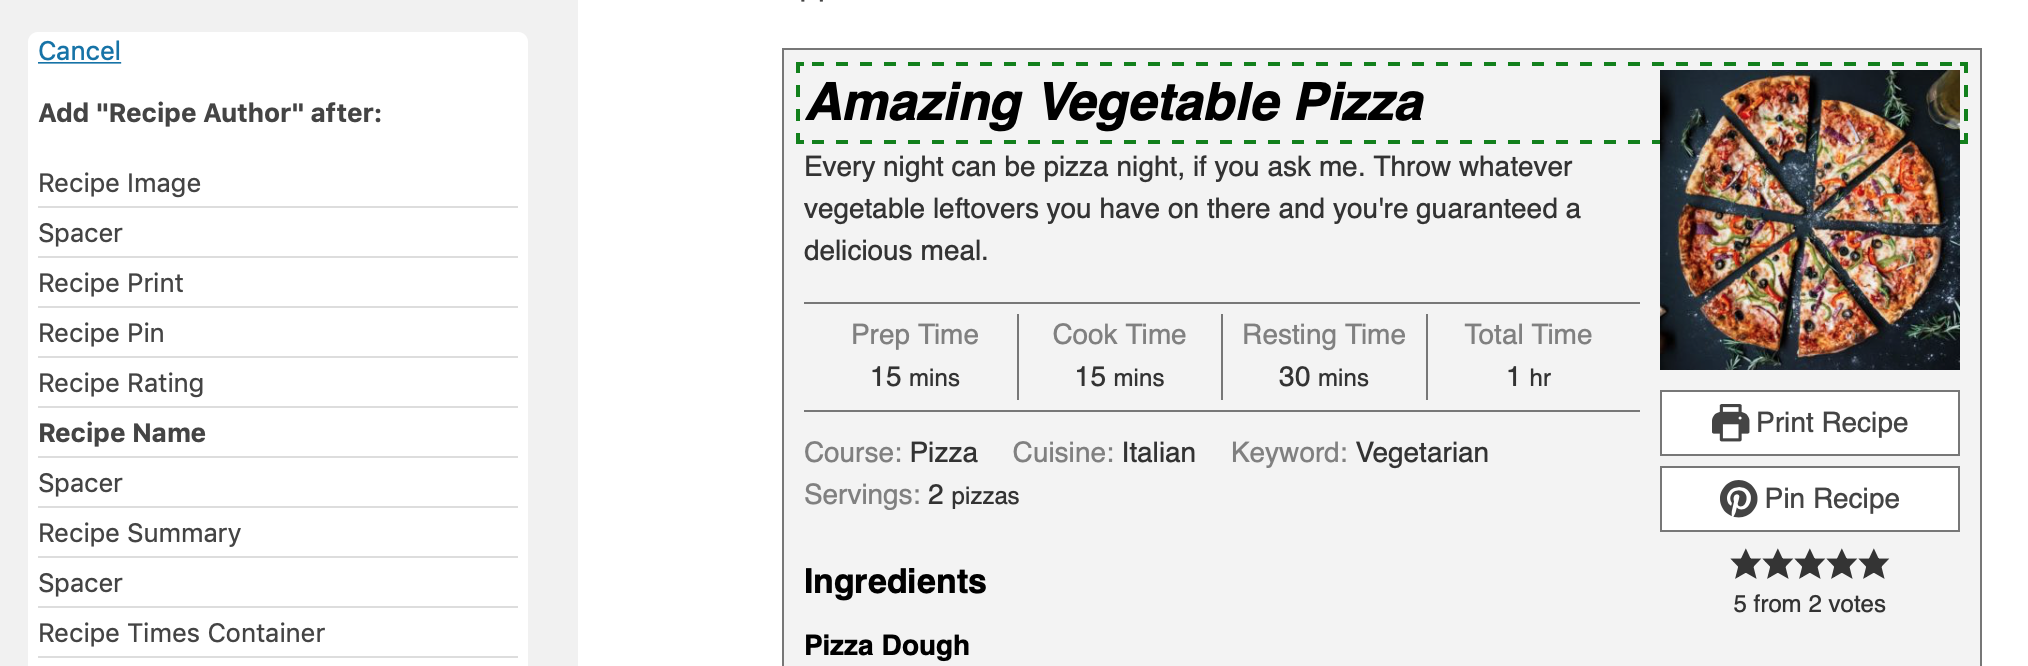
Section titled “Editor Mode – Add Blocks”Use add blocks to add a new recipe block to the template. You’ll get a list of all available blocks. Just click on what you want to add. The next screen will ask where you want to add the block. Select an existing block and the new block will be added after that one.
Editor Mode – Remove Blocks
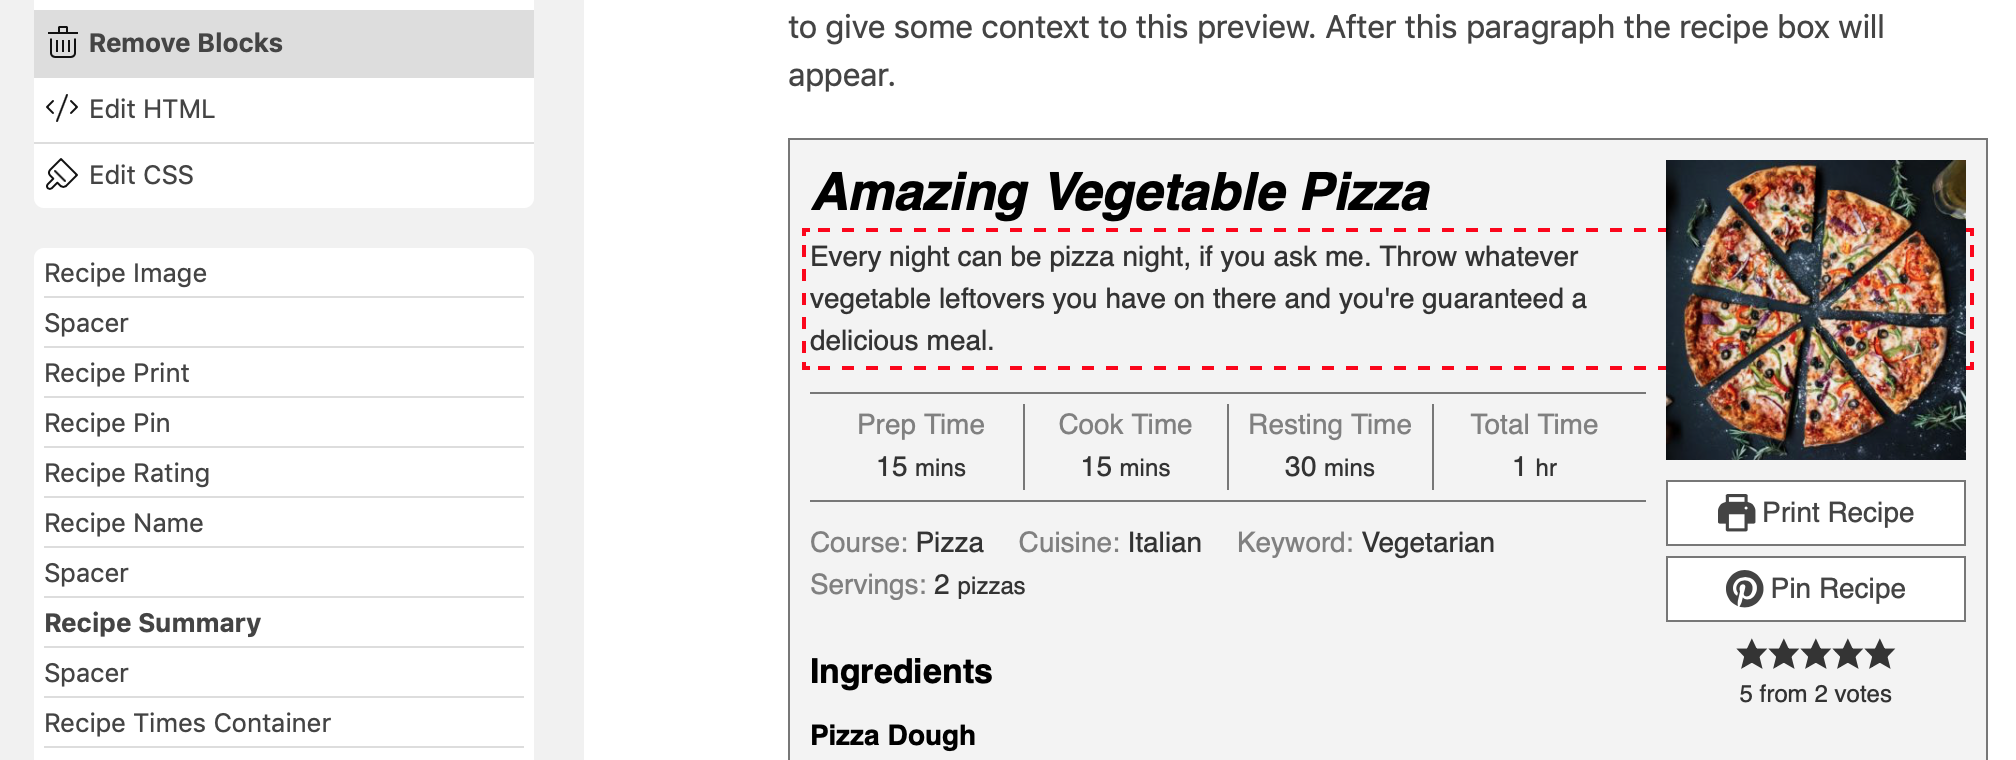
Section titled “Editor Mode – Remove Blocks”Just click on the block you’d like to remove from the recipe template.
Editor Mode – Edit HTML
Section titled “Editor Mode – Edit HTML”You have direct access to the Template HTML in this mode. Any changes you make here will be reflected in the preview as well.
This can be used for added hardcoded text to the template, for example.
Editor Mode – Edit CSS
Section titled “Editor Mode – Edit CSS”You have direct access to the Template CSS in this mode. Any changes you make here will be reflected in the preview as well.
Properties you can change in “Template Properties” mode will show up as a variable here. For example: %wprm_background%
Using a template you’ve created
Section titled “Using a template you’ve created”After creating your own template, don’t forget to change the Default Recipe Template setting if you want that template to be the new default for your recipes.
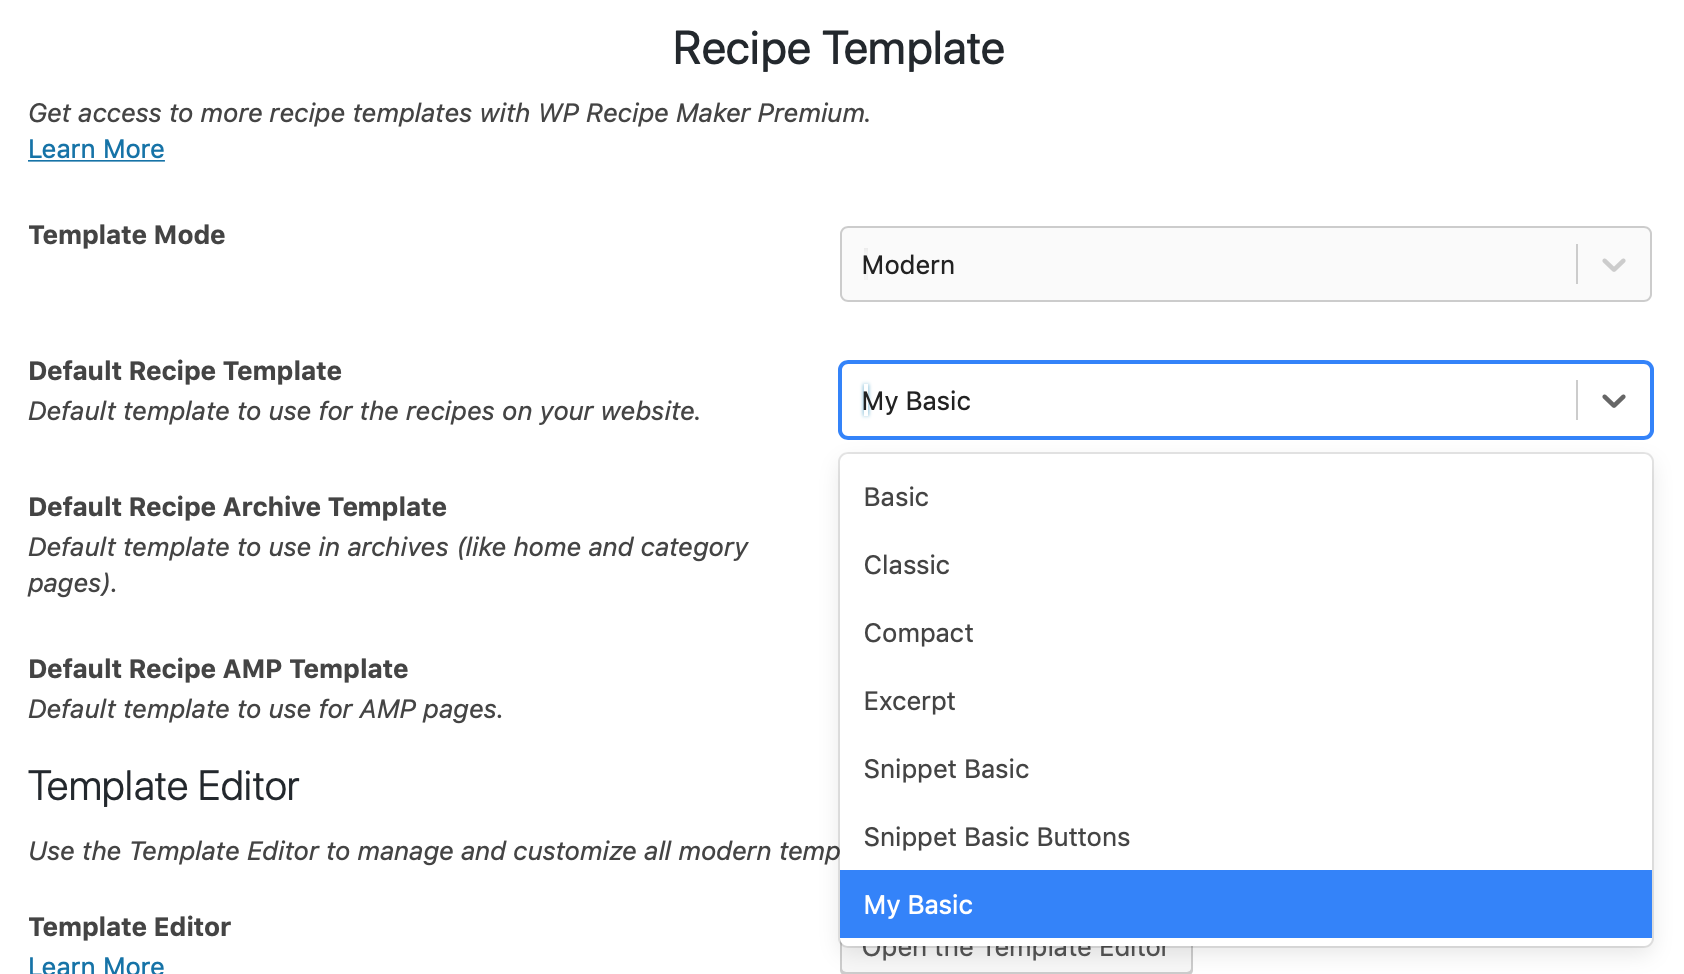
Changing the default recipe template will change the template for all recipes on your website at once!
Similarly there’s a “Default Recipe Snippet Template” and “Default Recipe Roundup Template” option in their respective sections of the WP Recipe Maker > Settings page.