
Using the Recipe Collections
Want to follow along? Test the Recipe Collections feature on our demo site!
Recipe Collections Overview
Section titled “Recipe Collections Overview”The first screen you see is an overview of all your existing collections. Never used the feature before? Then you’ll only see the inbox collection, which is the place recipes added using the Add to Recipe Collection button end up.
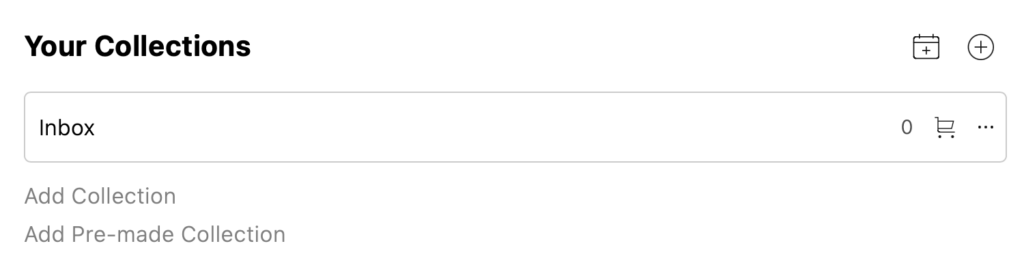
Click on “Add Collection” to create your very own collection or use the “…” icon next to existing collections to rename, duplicate or remove:
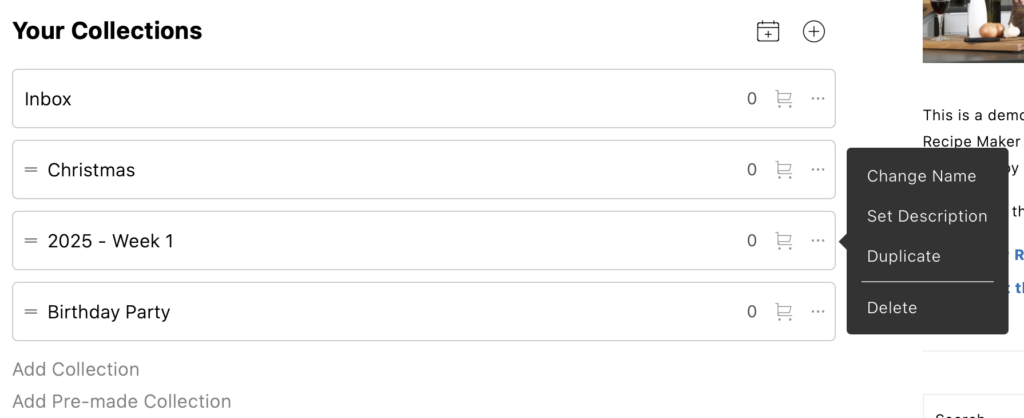
Once you’ve added more collections you’ll be able to drag them around on this initial page using the handle on the left as well.
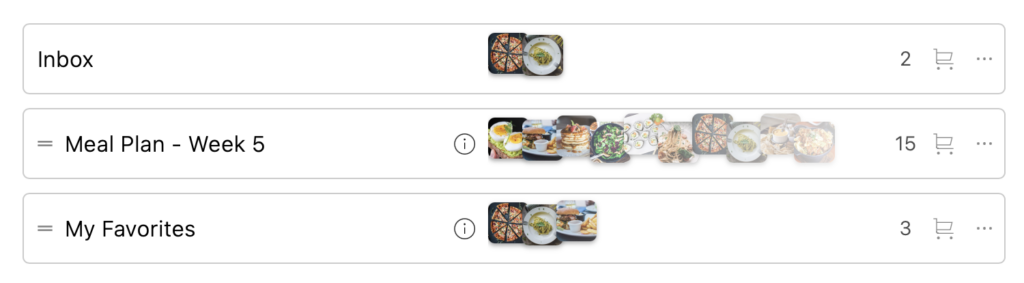
The overview pages shows the number of recipes you have in each collection at the end, with a preview of the recipes inside.
Choosing which saved recipes appear in the Inbox
Section titled “Choosing which saved recipes appear in the Inbox”By default, the Inbox is where recipes saved using the Add to Recipe Collection button end up. You can optionally change what appears there at WP Recipe Maker > Settings > Recipe Collections > Collection Functionality > Inbox Collection. Choose the option that best matches how you want visitors to organize their saved recipes:
- All saved recipes shows every saved recipe in the Inbox, including recipes that also appear in another collection.
- Needs organizing shows saved recipes that have not been explicitly organized yet. A recipe counts as organized when it is moved from the Inbox to a specific collection, column and group. Adding the same recipe to a collection separately does not organize the Inbox item.
- Not in a collection shows only saved recipes that do not currently appear in another collection. If a recipe is removed from all other collections, it appears in the Inbox again.
These options only change which saved recipes are shown in the Inbox. They do not remove the recipes from the visitor’s saved recipes.
Recipe Collection Page
Section titled “Recipe Collection Page”Click on a collection to open it. We’re starting out with an empty collection, so let’s start by changing its structure.
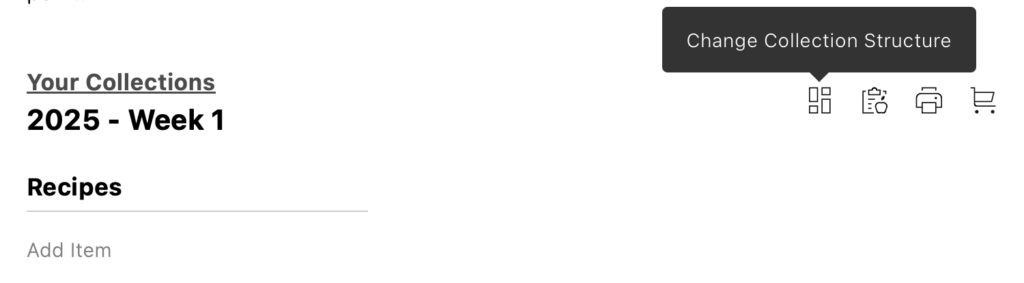
The structure of a collection consists of columns of groups. These can be used to alter the layout of this specific collection. Take note that every column will use the same groups. An example 3-day week plan with lunch and dinner recipes could look something like this:
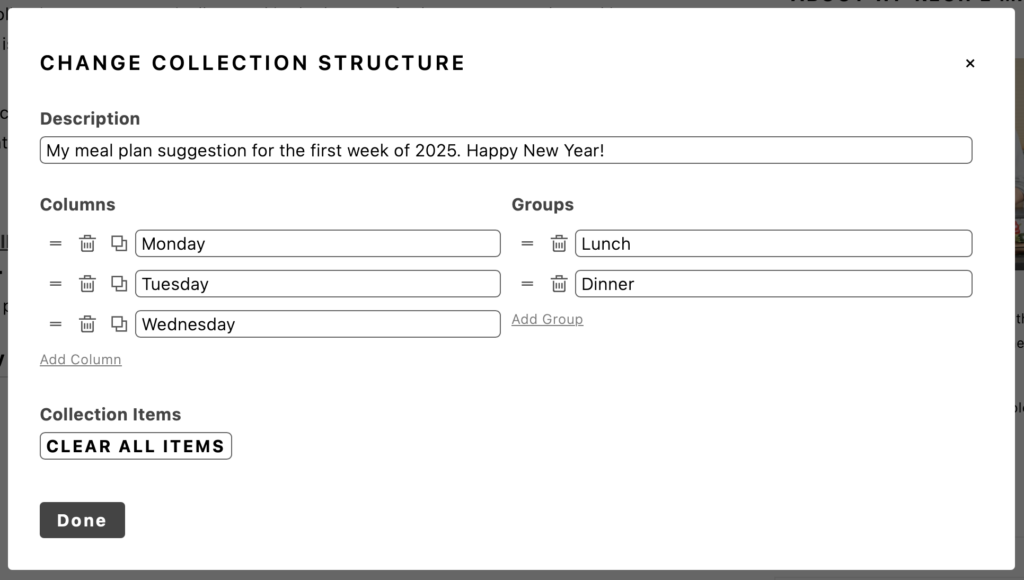
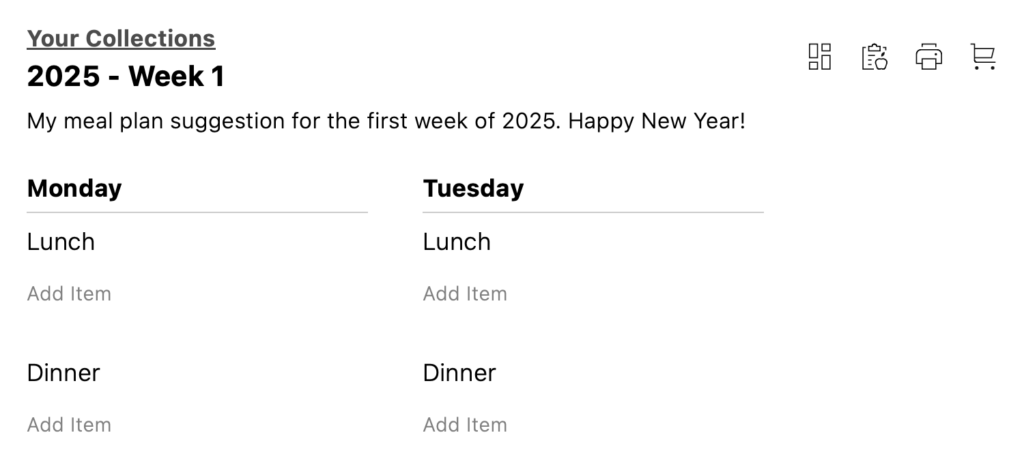
Once you have your structure set up, you can start filling in this collection by adding items (like recipes) to it. Click on “Add item” to open the modal for adding items to this collection.
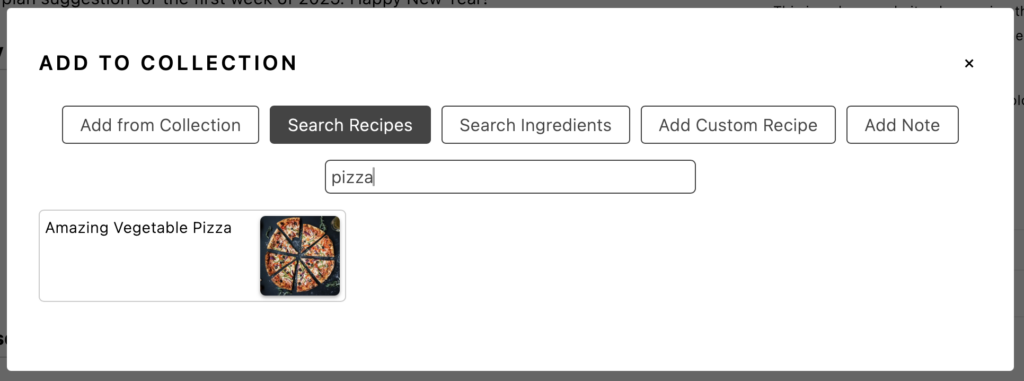
In the modal you’ll have an overview of the different places you can add items from. On our demo site we have enabled all the different options. In the example screenshot, the user searched for a pizza recipe and can click on “Amazing Vegetable Pizza” to add it to the collection.
Moving or copying an item to another collection
Section titled “Moving or copying an item to another collection”To organize an existing item, open its Item Actions menu and choose Move to Another Collection. Select the destination collection, column and group to control exactly where the item should go. Confirming the action removes the item from its current location and adds it to that destination.
Enable Copy item instead of moving it if you want to keep the item in its current location as well. The copy is then added to the selected destination without removing the original.
If that item is already present at the destination, Recipe Collections shows a duplicate warning before continuing. Check the selected collection, column and group before confirming if you do not want the item to appear there twice.
Shopping List Page
Section titled “Shopping List Page”Click on the “Shopping List” icon to choose which recipes to shop for. Use the checkbox for each item to include or exclude that recipe from the shopping list. Select all includes all items at once, while Deselect all clears all of the checkboxes so you can select only the items you need.
The shopping-list checkboxes and serving sizes work independently. Use the minus and plus icons to adjust the serving size for each included recipe; selecting or deselecting an item does not change its serving size.
Once you’re happy with the selected items and serving sizes, click on the shopping cart icon again to generate the shopping list. If set up, ingredients will automatically be separated in different groups for that shopping list:
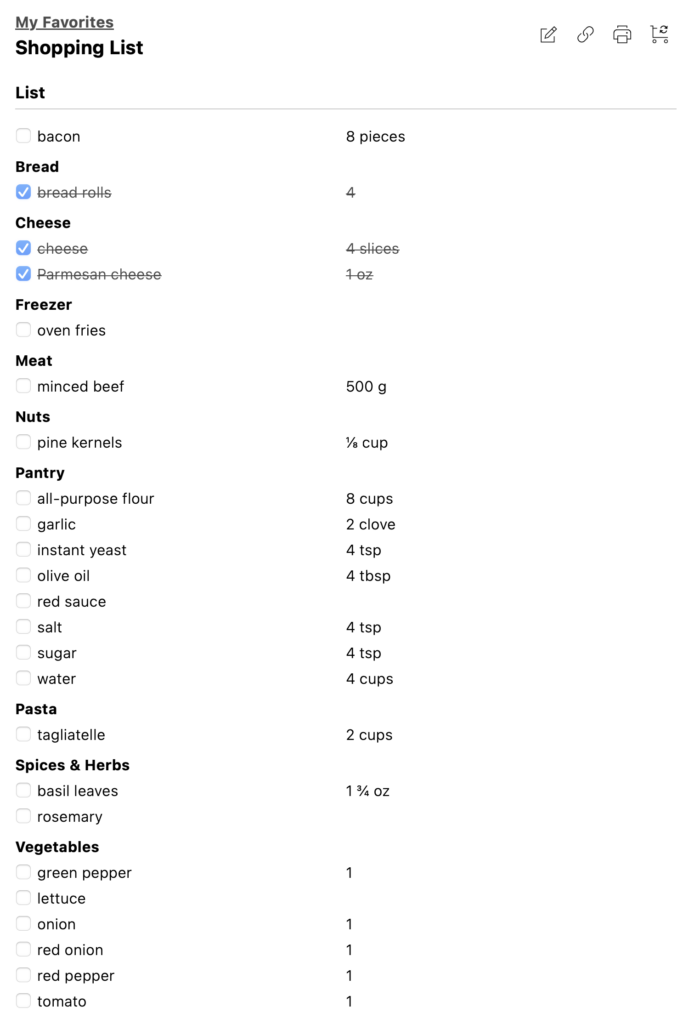
Click on the checkbox in front of the ingredients to indicate the ones you already have and use the icons at the top to print the recipe collection, shopping list or both! You also have the option to edit the shopping list (adding your own items and groups) or even sharing an editable link, so that anyone else can edit this shopping list as well.
These are the basics for using the collections feature, but take note that a lot of the functionality can be customized as needed.